Agony Tutorial 001
Agony Tutorial 002
Agony Tutorial 003
Agony Tutorial 004
Agony Tutorial 005
Agony Tutorial 006
Agony Tutorial 007
Agony Tutorial 008
Agony Tutorial 009
Some user comments about the tutorials
"These were very helpful!!! Thanks a million!"
"I enjoy working with Agony very much and tutorials were very helpful"
"I have to express my joy in finding your agony program! I am having the best time using it (first blindly and then with your tutorials) ."
"It's very very helpful, thanks! "
"Its good to know that you made the tutorials. A few days back, I was trying to work on one of your program and it just didn't work!"
Making a pretty 'circle' thing.
-
Load agony202.exe
-
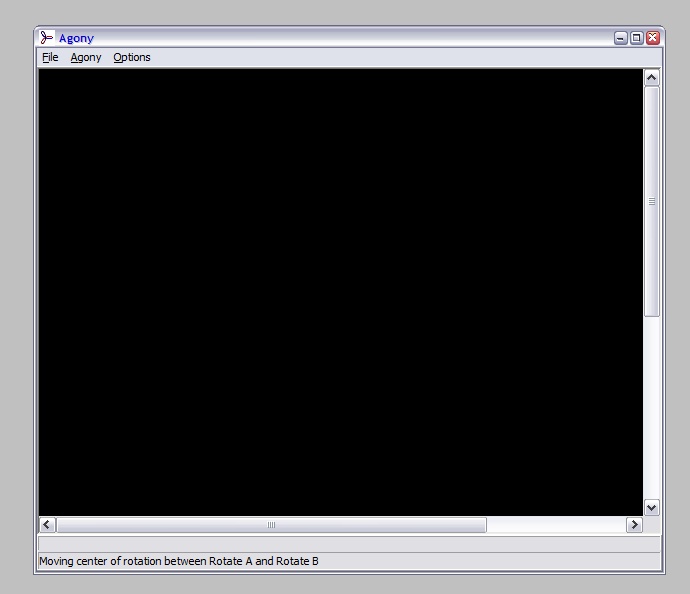
Maximise Agony
-
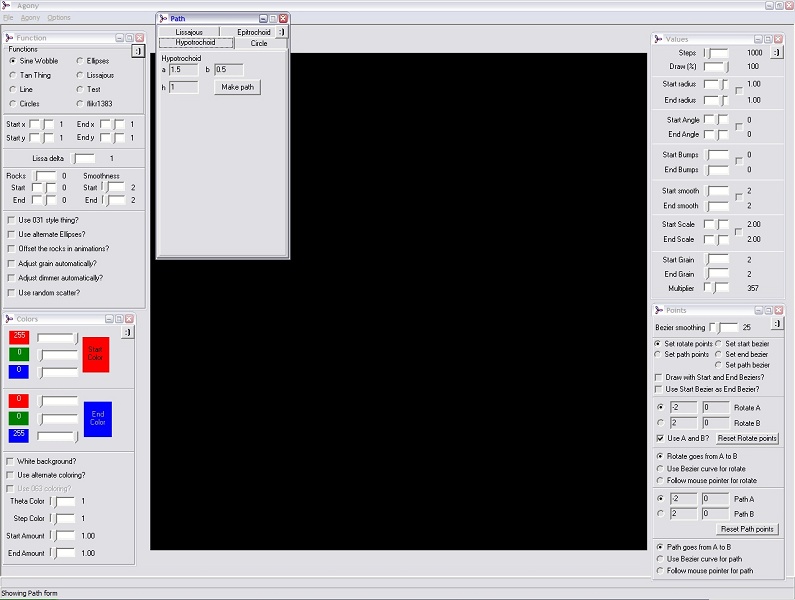
Display the main 5 option windows, using the F1, F2, F3, F4 and F5 keys. Position these so that they are accessible and usable.
-
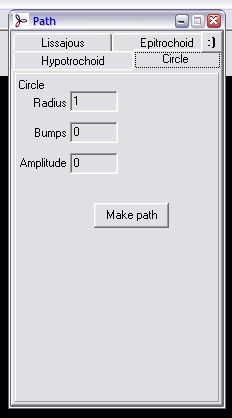
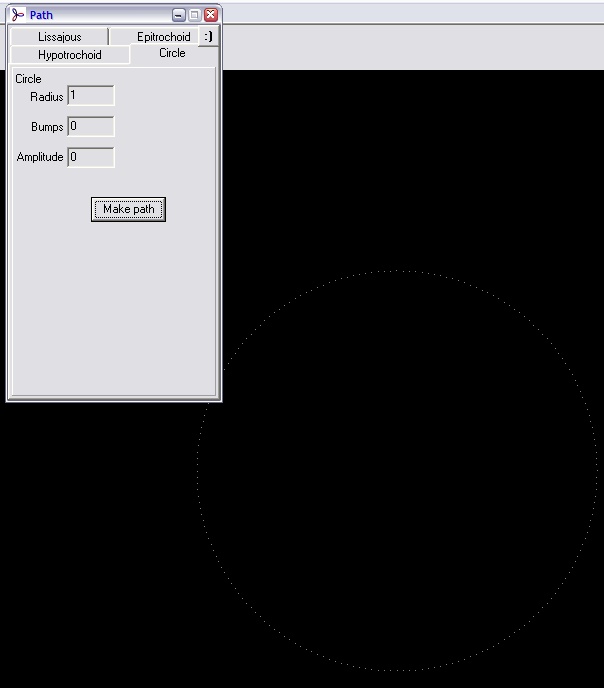
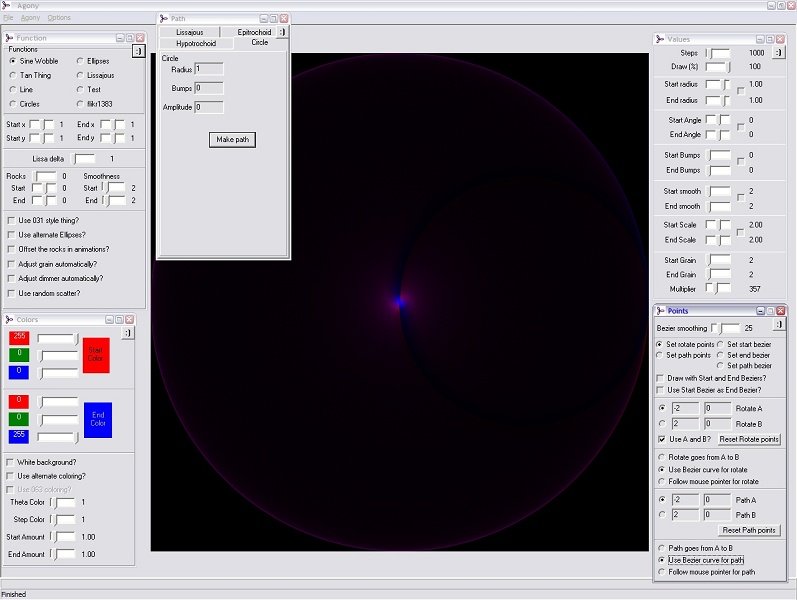
In the 'Path' window, click on the 'Circle' tab, and click the 'Make Path' button. A path should be drawn on the canvas.
-
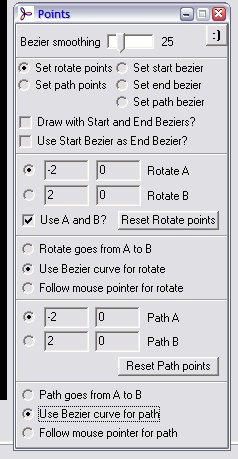
In the 'Points' window, click the 'Use Bezier curve for rotate' and 'Use Bezier curve for path' options. Agony produces its pictures by moving a curve around. Selecting these options means that the center of any curve we draw will be located along the circle drawn in the previous step, and any rotation of the shape as it is being drawn is centered at the same point.
-
Press the 'd' key on your keyboard to start Agony drawing
-
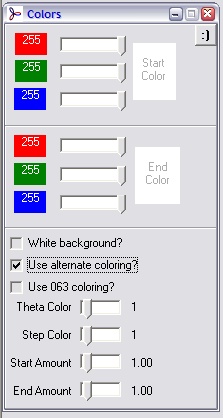
When the drawing is complete, go to the 'Colors' window. Drag the sliders so that the start and end colours are both full on white. Click on the 'Use alternate coloring' option
-
Press the 'c' key to clear the Agony canvas
-
Press the 'd' key on your keyboard to start Agony drawing
-
Press the 'c' key to clear the Agony canvas
-
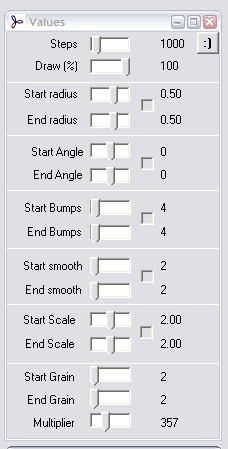
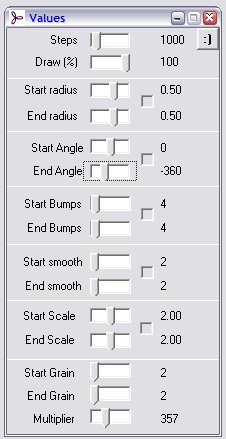
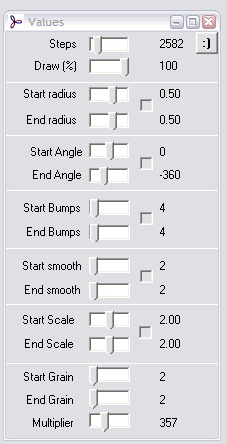
In the 'Values' window make the start radius 0.00 and the end radius 0.50

-
Press the 'd' key on your keyboard to start Agony drawing
-
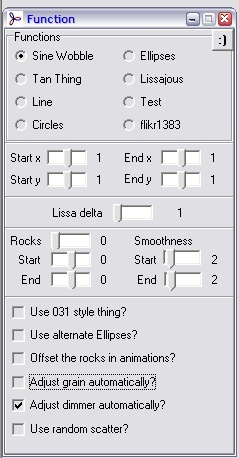
In the 'Function' window, select the 'Adjust dimmer automatically' option. Using this option, Agony will vary the strength of the colours depending on the radius of the shape, trying to keep an even level of brightness.
-
Press the 'c' key to clear the Agony canvas
-
Press the 'd' key on your keyboard to start Agony drawing

-
In the 'Values' window make the start radius 0.50 and the end radius 0.50
-
In the 'Values' window make the start and end bumps 4
-
Press the 'c' key to clear the Agony canvas
-
Press the 'e' key to watch Agony as it is drawing
-
Press the 'd' key to start Agony drawing
-
Press the 'e' key to toggle drawing each step. Not drawing every step can be significantly faster than doing so
-
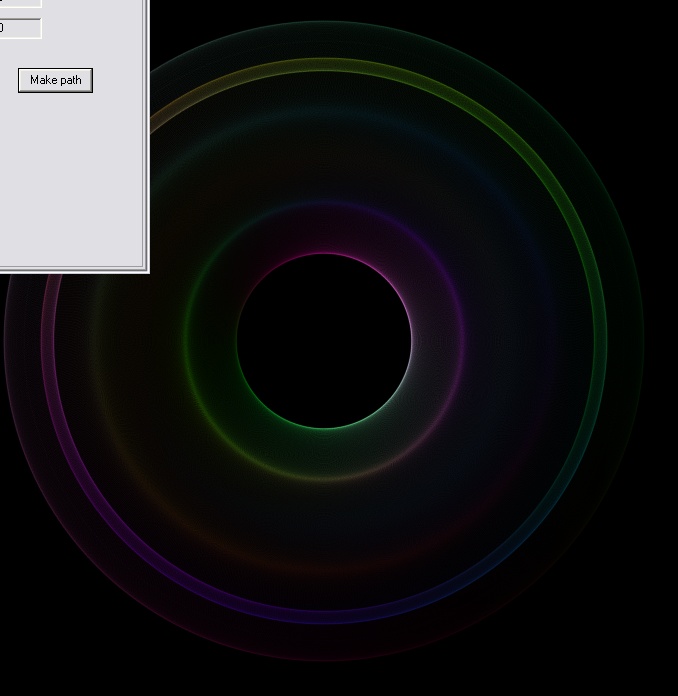
We should see the shape with 4 bumps moving around the screen in a circle, always oriented in the same way
-
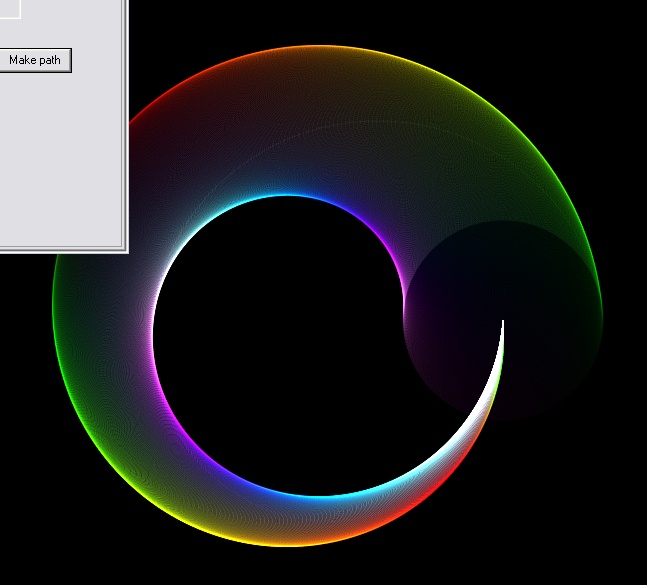
If we want the shape to rotate while it travels around in the circle. In the 'Values' window set the 'End angle' to -360. This means that as the shape moves around in a circle, it will rotate by 360 degrees clockwise about its center.
-
Press the 'c' key to clear the Agony canvas
-
Press the 'd' key to start Agony drawing
-
This time we see concentric circles being drawn out by the shape.
-
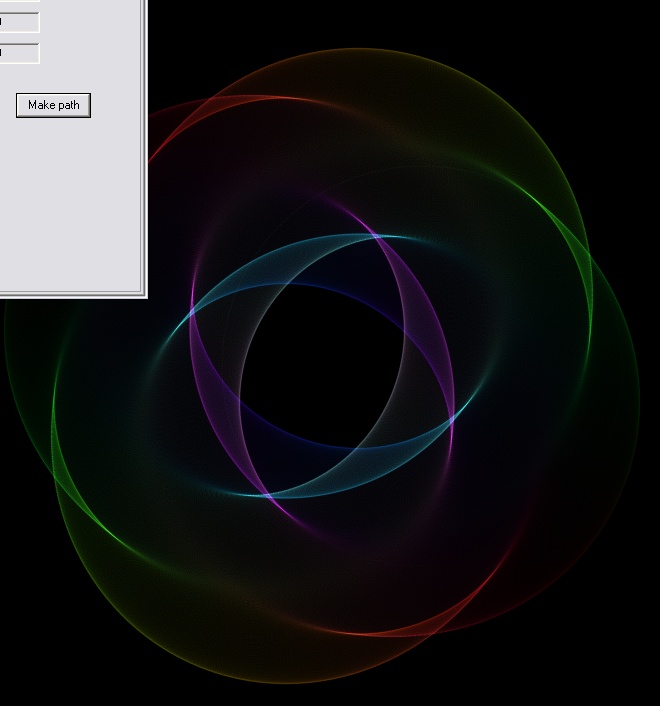
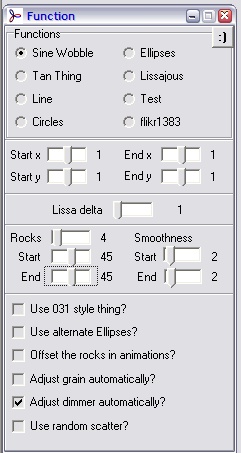
In the 'Function' window set 'Rocks' to 4, and Start and End to 45. This means that as the shape travels around the circle it will 'rock', clockwise 45 degrees and then back to 45 degrees anticlockwise from its starting orientation, four times.
-
Press the 'c' key to clear the Agony canvas
-
Press the 'd' key to start Agony drawing
-
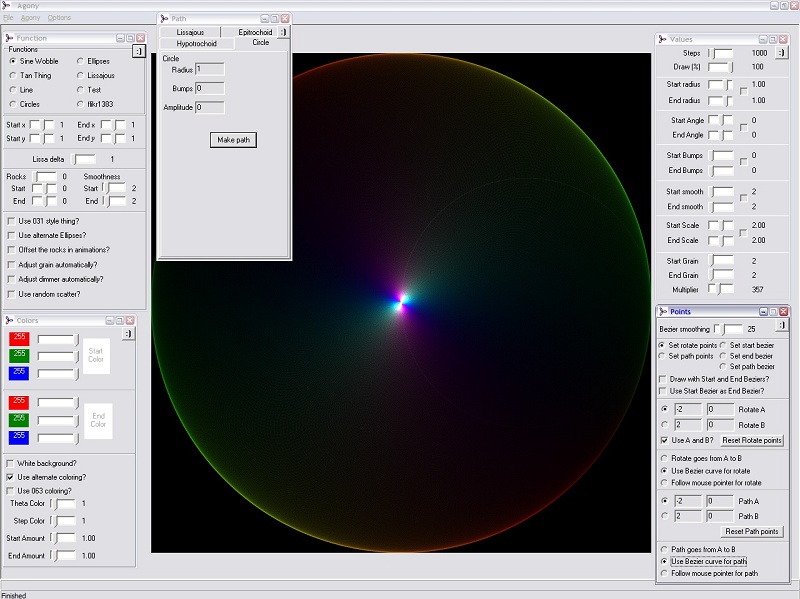
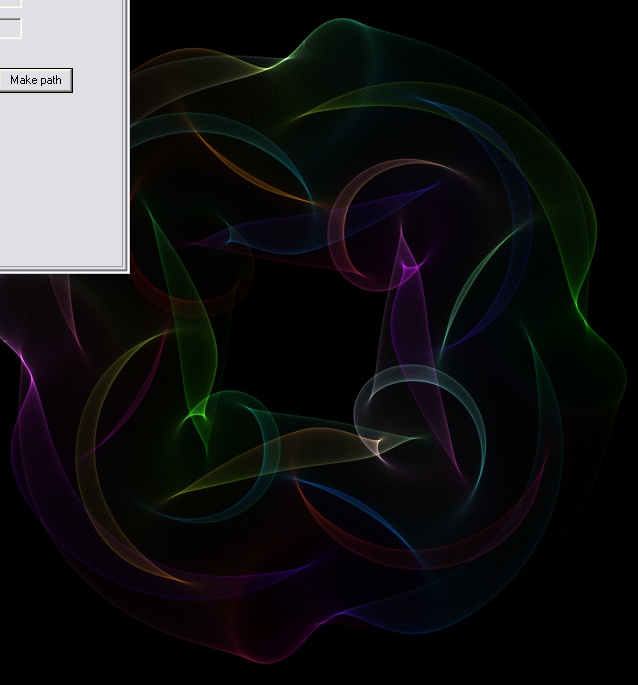
In the 'Values' window set the number of steps to 2582 - this will make Agony draw more steps, and thus 'draw more curves' and the image will be brighter.
-
Press the 'c' key to clear the Agony canvas
-
Press the 'd' key to start Agony drawing, and we should arrive at this next image - our final goal!

Agony Tutorial 002
Agony Tutorial 003
Agony Tutorial 004
Agony Tutorial 005
Agony Tutorial 006
Agony Tutorial 007
Agony Tutorial 008
Agony Tutorial 009
Some user comments about the tutorials
"These were very helpful!!! Thanks a million!"
"I enjoy working with Agony very much and tutorials were very helpful"
"I have to express my joy in finding your agony program! I am having the best time using it (first blindly and then with your tutorials) ."
"It's very very helpful, thanks! "
"Its good to know that you made the tutorials. A few days back, I was trying to work on one of your program and it just didn't work!"
The end.