Agony Tutorial 001
Agony Tutorial 002
Agony Tutorial 003
Agony Tutorial 004
Agony Tutorial 005
Agony Tutorial 006
Agony Tutorial 007
Agony Tutorial 008
Agony Tutorial 009
Some user comments about the tutorials
"These were very helpful!!! Thanks a million!"
"I enjoy working with Agony very much and tutorials were very helpful"
"I have to express my joy in finding your agony program! I am having the best time using it (first blindly and then with your tutorials) ."
"It's very very helpful, thanks! "
"Its good to know that you made the tutorials. A few days back, I was trying to work on one of your program and it just didn't work!"
Using hand drawn curves with Agony.
-
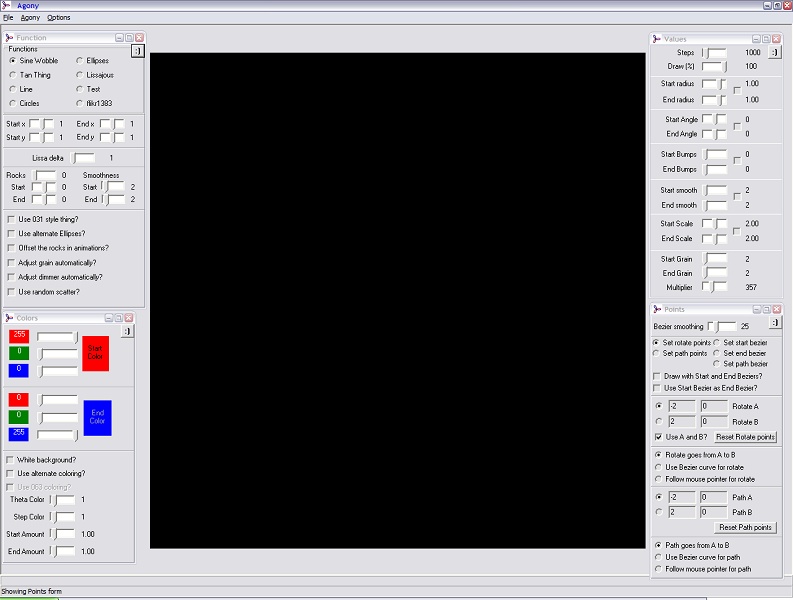
Load agony202.exe, and maximise it, and make sure the 'Function', 'Values', 'Colors', and 'Points' option windows are open. F1, F2, F3, F4 will open these windows.
-
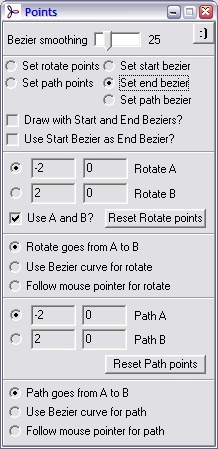
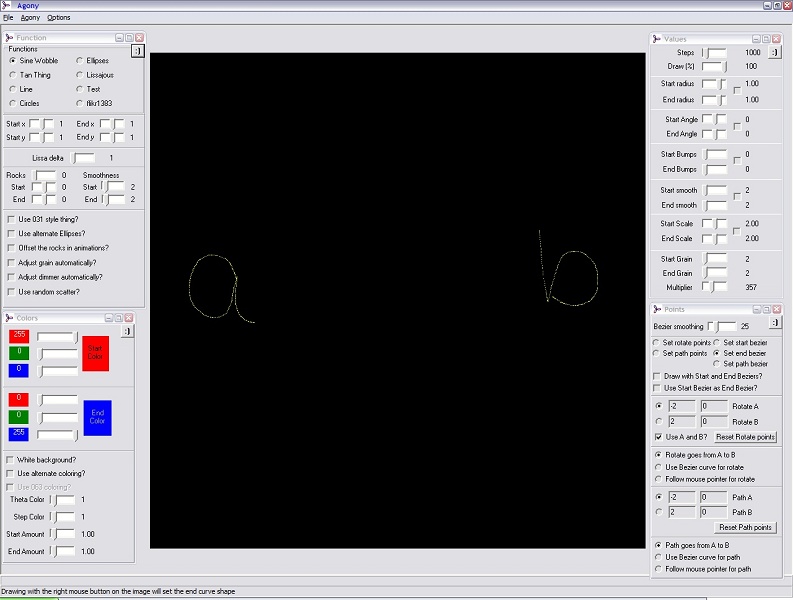
In the 'Points' window, select 'Set start bezier'

-
Move the mouse over the Agony 'canvas' and then while holding down the Right mouse button, draw out a letter 'a'. This will define the shape that Agony will start drawing its steps with.

-
In the 'Points' window, select 'Set end bezier'
-
Move the mouse over the Agony 'canvas' and then while holding down the Right mouse button, draw out a letter 'b'. This will define the shape that Agony will finish drawing its steps with.
-
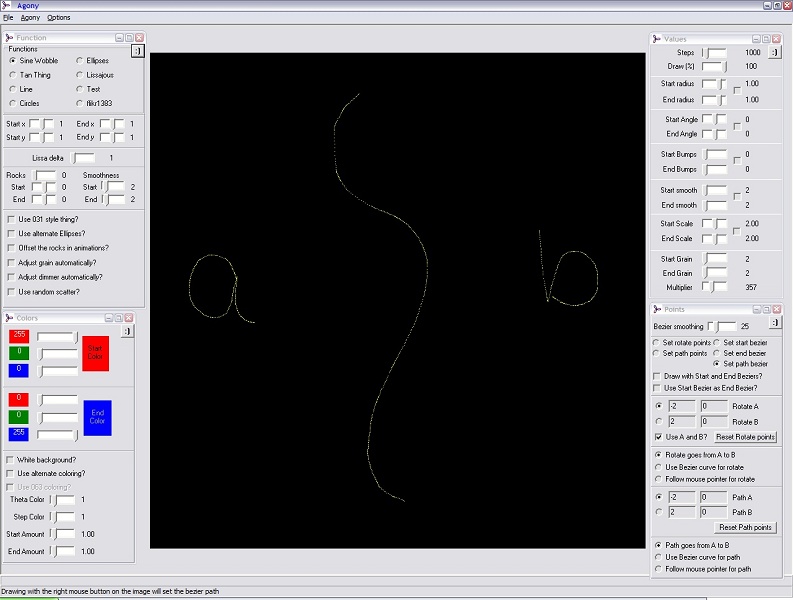
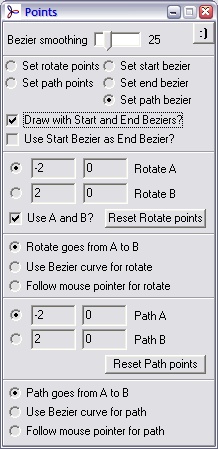
In the 'Points' window, select 'Set path bezier'

-
Move the mouse over the Agony 'canvas' and then while holding down the Right mouse button, draw out a line moving from one place on the canvas to another. This line defines the path along which Agony will draw the shape as it starts as an 'a' and turns into a 'b'.
-
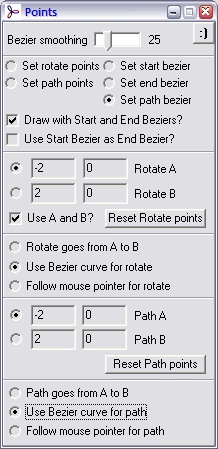
In the 'Points' window, select 'Draw with Start and End beziers?'. This tells Agony that you want to use your defined start and end shapes rather than its predefined functions.
-
In the 'Points' window, select 'Use Bezier curve for rotate' and 'Use Bezier curve for path'. This tells Agony that you want to draw each step with its center along this 'path', also that the center of rotation at each step will be at the same point along this path.
-
Press the 'e' key to set Agony so it will draw each step as it is drawing. This will let you see what is happening.
-
Press the 'd' key on your keyboard to start Agony drawing
-
Press the 'e' key to toggle drawing each step. Not drawing every step can be significantly faster than doing so

-
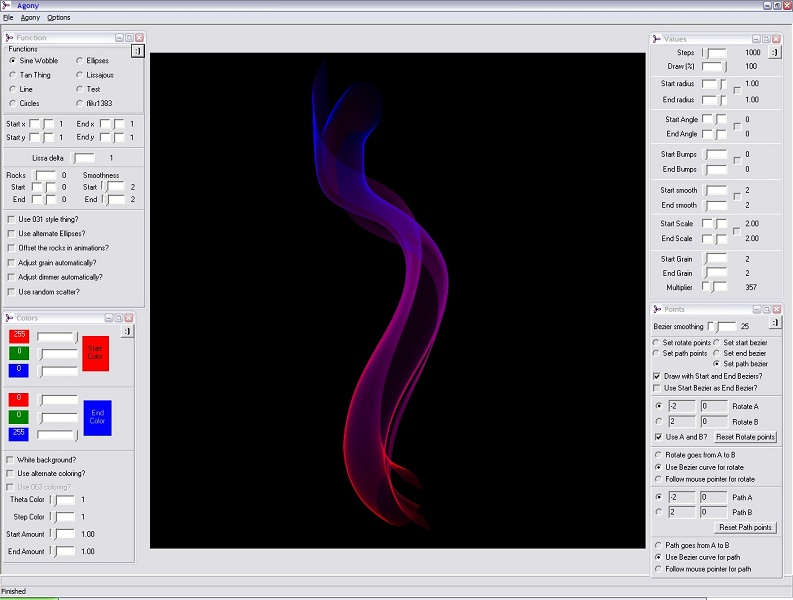
The drawing should complete and leave you with a picture similar to the one below.
Agony Tutorial 002
Agony Tutorial 003
Agony Tutorial 004
Agony Tutorial 005
Agony Tutorial 006
Agony Tutorial 007
Agony Tutorial 008
Agony Tutorial 009
Some user comments about the tutorials
"These were very helpful!!! Thanks a million!"
"I enjoy working with Agony very much and tutorials were very helpful"
"I have to express my joy in finding your agony program! I am having the best time using it (first blindly and then with your tutorials) ."
"It's very very helpful, thanks! "
"Its good to know that you made the tutorials. A few days back, I was trying to work on one of your program and it just didn't work!"
The end.